Farm News, October 12, 2021
BRING YOUR MASK! Due to the everchanging pandemic conditions, we are requiring masks for all individuals, regardless of vaccination status, while visiting in the barn. Masks are not required outside the barn. Thank you!
*******************************************************************
The string of warm weather days and nights continues, and our fall harvest is looking quite good. We’ve chilled the parsnips to get them extra tasty and the sweet potatoes are finally here! We had a big week in the greenhouses, cleaning out the old tomato vines and planting lettuce and spinach for late-fall and early winter. For now, we’ve got plenty of salad and cooking greens coming in from the field.
Liv (pictured), Shell, and Emma took turns sowing sweet winter spinach in 2 greenhouses.
Usually, this time of year is a bit of a wind down. We start figuring out what projects we can peck away at this fall, and what will have to wait for spring. And sometimes, he hire in some professionals to do jobs that are a once in a decade event, which is keeping me at full tilt this fall …
The greenhouse tomatoes, growing since January and working hard since June, needed clearing first. The biggest weeds here are the cherry tomatoes, which will try to “volunteer” in the future spinach crop.
In 2017, we were able to rent the entire 38-acre field at Fort Hill. We spent three years liming, cover cropping, and composting the new field to transition it to organic production. Starting next year, we will have an additional 10 acres of land to add to our rotation. Our goal is not to expand, but to add a few years of perennial clover and pasture grasses to our field rotation to allow them a break from annual vegetable cultivation. The extra land also allowed us to plant an acre of Pick Your Own blueberries this spring (stay tuned…) and to increase our strawberry production since we know how much everyone loves berries. This winter, a crew came in and installed a deer fence around 10 acres, and we deemed it just about ready to go.
The high tunnel lettuce is looking just fine!
The only thing we were missing was water. Our wells are up to 1,400 feet away from these fields, and to get the water to the crops we needed to extend our irrigation pipeline. For people that rent farmland (that’s us, we don’t own a speck of the 38 acres we farm), putting money into permanent, long-term projects is always stressful because the working life of the improvement is so much longer than the term of our lease. One way we’ve been able to address this issue is through matching grants from the USDA Natural Resources Conservation Service (NRCS), which has helped us fund past irrigation projects and also came through again this year. A crew from Massachusetts spent last week digging trenches and installing pipe. They were accompanied by an NRCS engineer who checked to see that things went to plan, and two archaeologists who were on hand to see if any important artifacts were uncovered during the installation, since Native Americans farmed these fields for thousands of years before we did.
Yes! Bring on the underground, frost-free water.
Needless to say, it was a lot of disparate parties to get together, and a lot of chefs at the cook pot. These big projects can be kind of stressful for us, and also a bit untidy because the farm looks like a World War I battlefield, but things mostly went according to plan. With some luck the project will be completed this week and soon we’ll be able to reach all the fields we need with a pipeline full of water to keep crops growing in our sandy soil.
We hope you enjoy the farm and the harvest,
Paul and Rebecca for the Fort Hill Farm Crew
Featured veg:
This week we are inundated with seasonal veggies that make folks happy, so we are featuring 3 items! Look for new recipes with these beauties over the next 2 weeks.
Fresh young turmeric: This symbol of health and the tropics is tricky to grow, because of the long, long growing season it requires. Although we start the growing process in February, the shoots don't emerge until July, and we barely get a crop by the first frost in October! Aside from healthful teas, elixirs, and turmeric milk, folks love to grate it into yogurt, shave onto baked fish, and add to sautés and light sauces. The recipe below is a must-try! Store in the fridge in a waxed paper bag or a plastic container for 10 days, then freeze whole in a freezer bag. (Do not thaw entire piece, but rather, shave frozen and return piece to the freezer asap.)
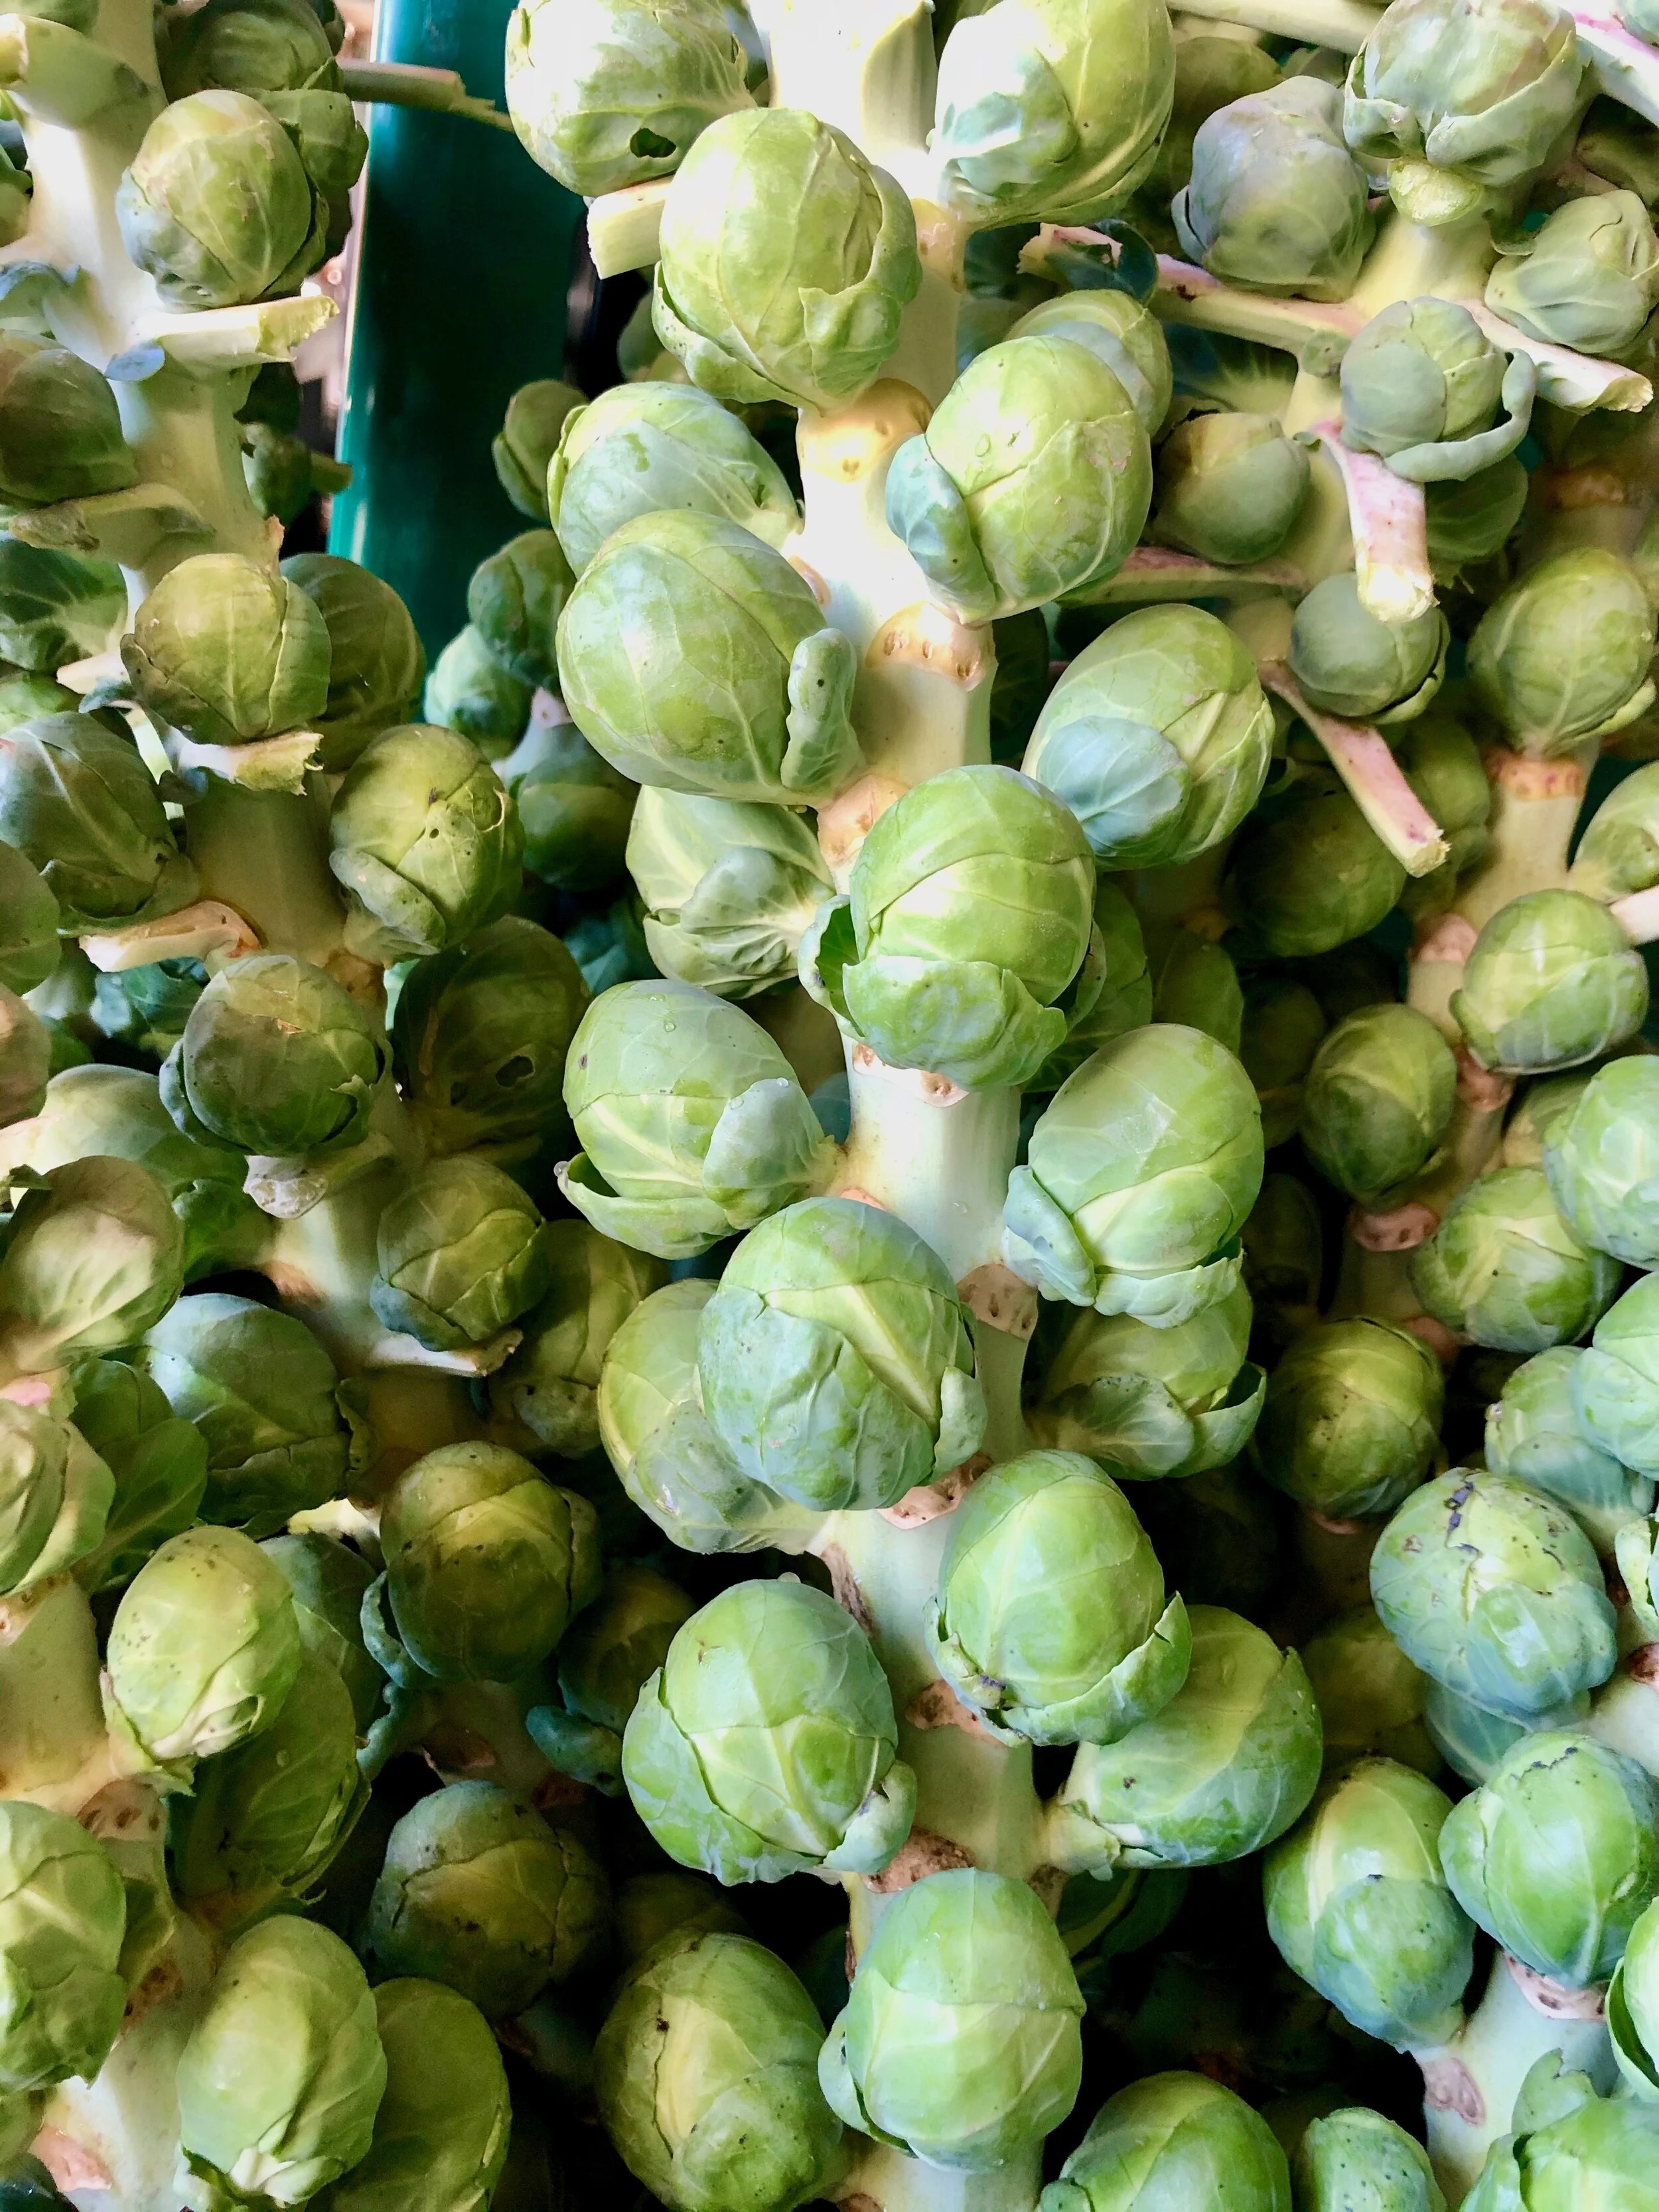
Brussels sprouts: these are some of the hardest crops to grow, particularly in sandy soil with organic practices. They take up gobs of space and hold their place in the field from mid-June through October. They need a lot of fertility and have tons of problems with diseases. Did I mention they generate lots of weeds? Why do we grow them? Because we love them, plain and simple. We’ve been lucky enough to have good crops the last two season. Just snip off the sprouts, peel off the outer leaves, and enjoy. They are best parboiled/steamed and then pan fried or roasted (or see grilled recipe below). Sprouts will store for a while in the fridge.
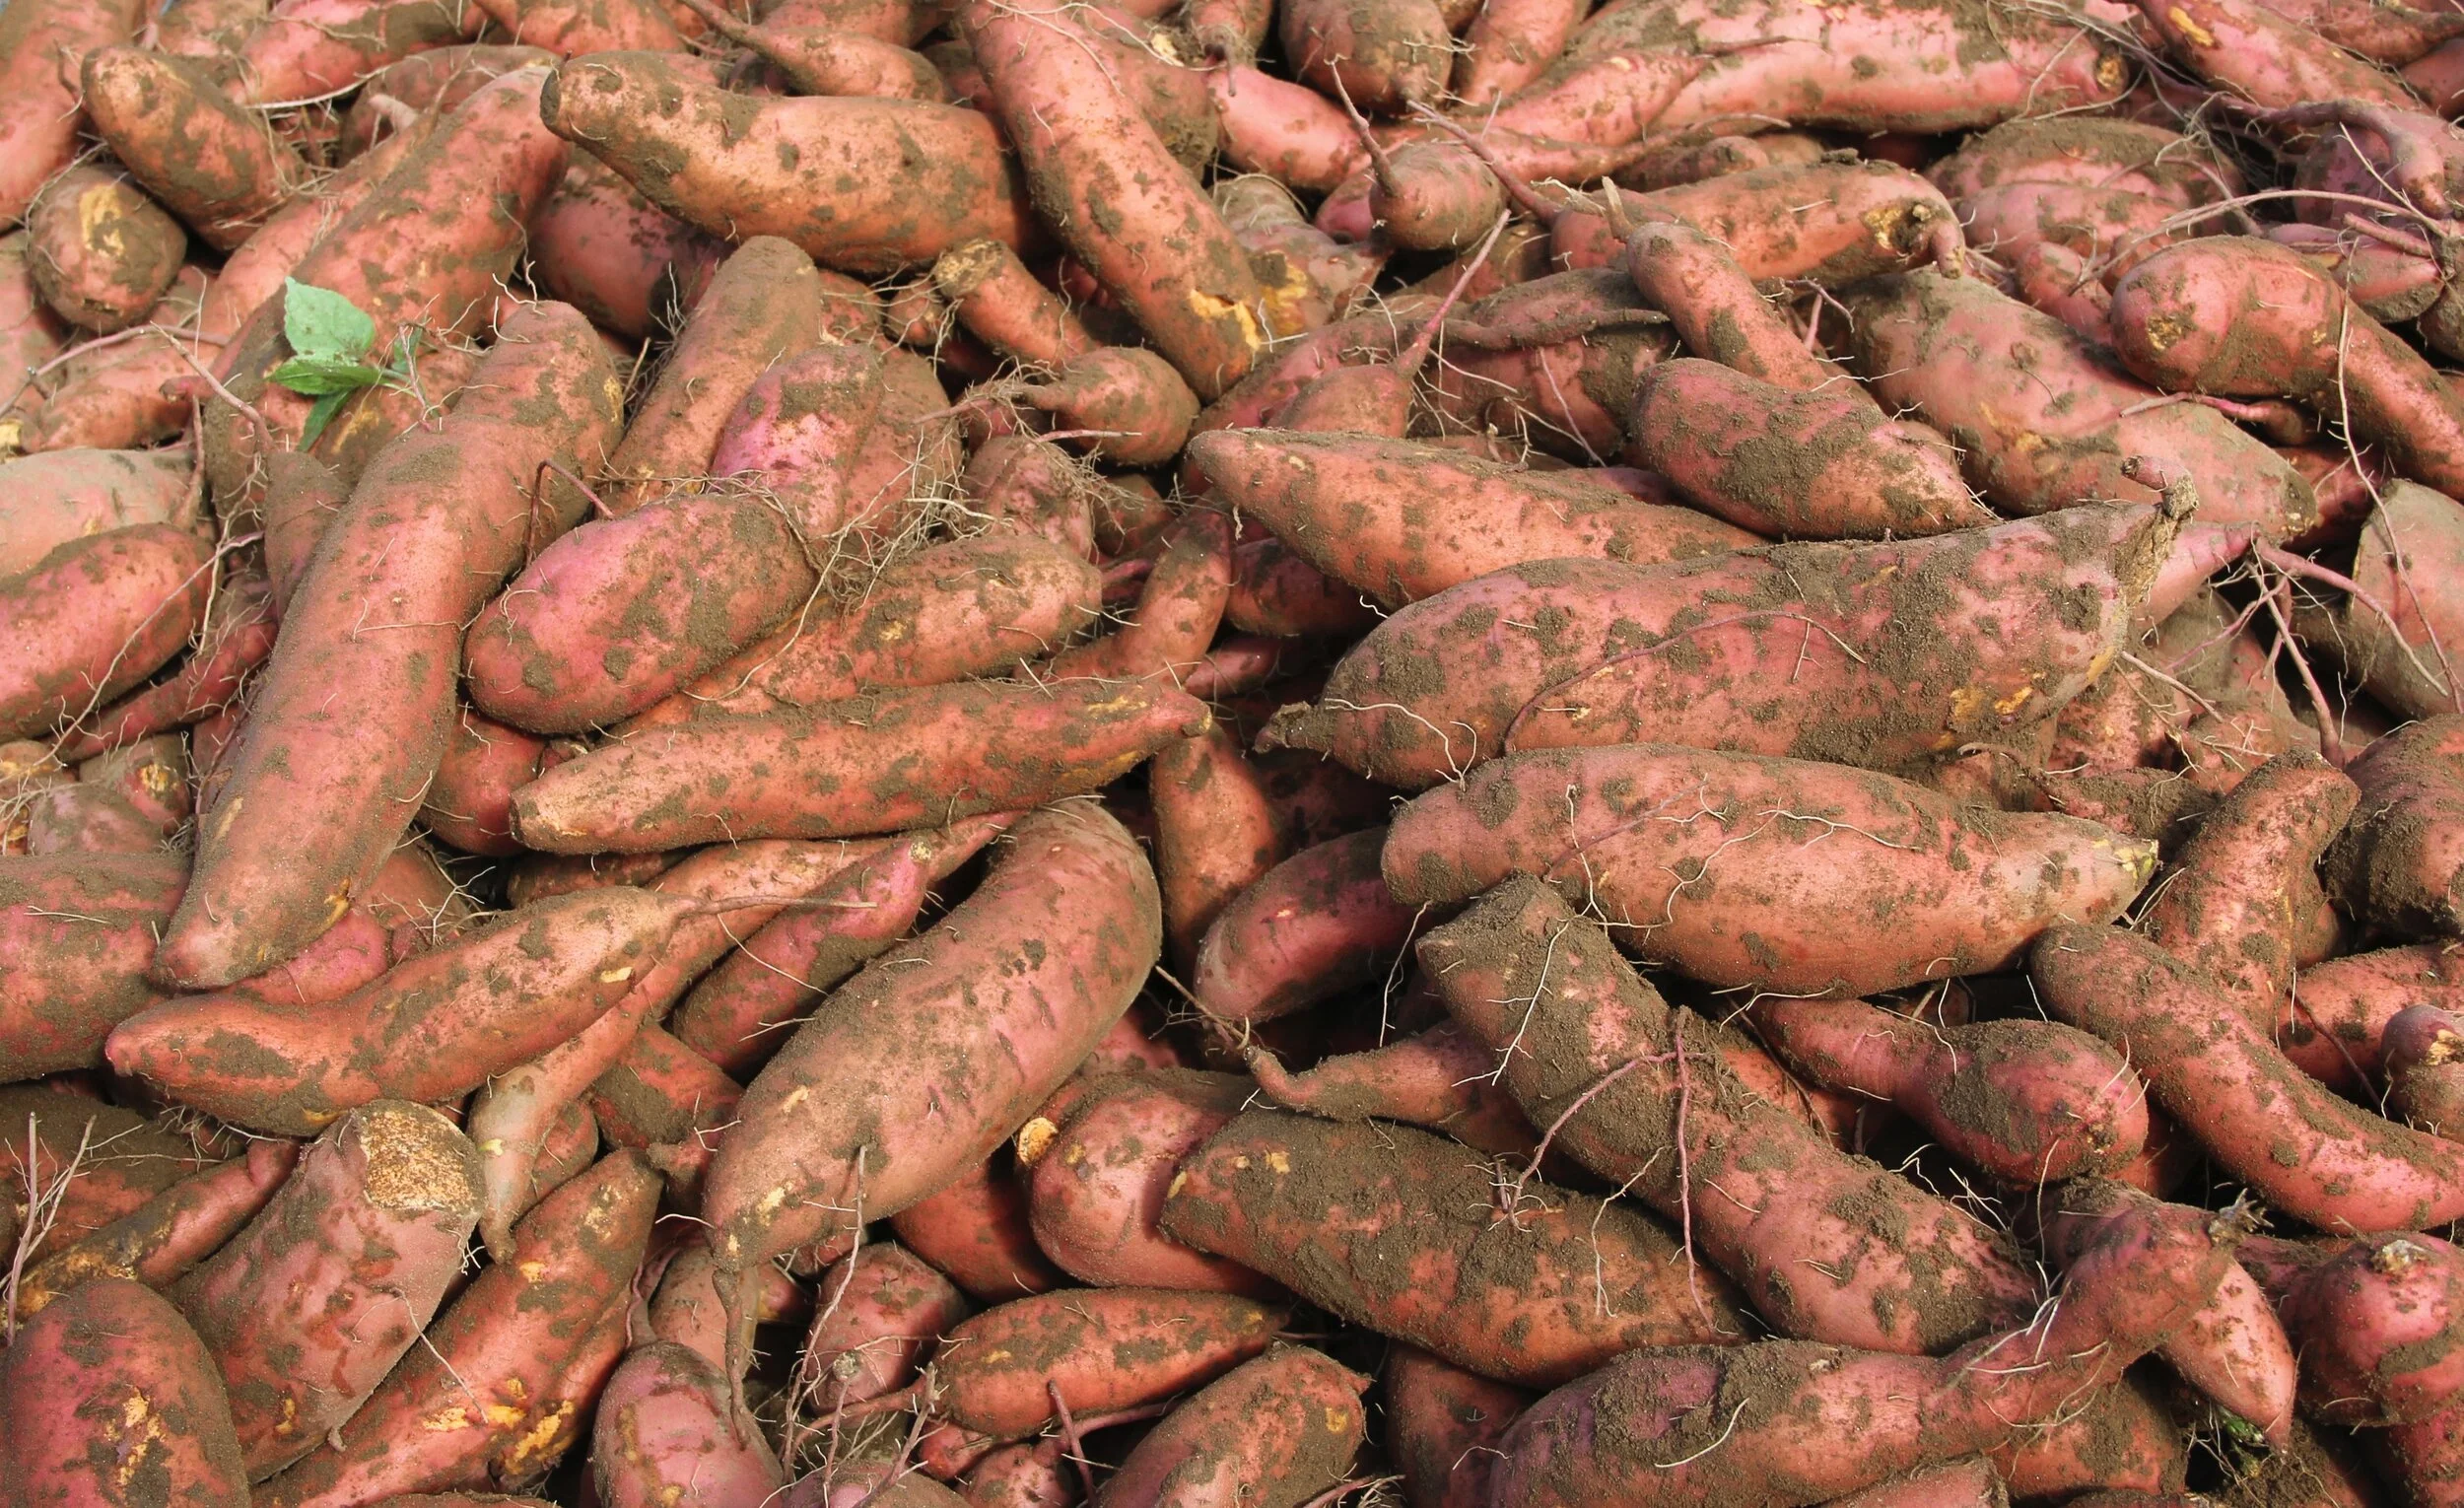
Sweet potatoes: We have come to rely on a hefty sweet potato crop, mostly because the sandy shelf above the river named Fort Hill was just made to grow these things; but this year has been a bit different. Maybe it was the intermittent cool spells within the warm summer, but in any case, the yield is down by 20% - more proof that you win some, you lose some. Sweet potatoes will store for many months at room temperature, out of direct sunlight. Just hold off washing them until you are ready to use, and NEVER expose them to temperatures below 55F. We have held these beauties in a warm greenhouse for a couple of weeks, so they should be sweet and ready to eat. Try them baked whole, cubed and roasted, mashed, or our favorite, sweet potato pie.
Also available:
Salad mix, arugula, head lettuce, pea shoots, French Breakfast and red radishes, limited salad turnips, Red cabbage, savoy cabbage, red, Chioggia, and gold beets, curly and lacinato kale, rainbow chard, parsley, chives, oregano, sage, thyme, rosemary, radicchio, Dark Red Norland, Satina Gold, Blue Gold, Magic Molly, Kennebec and Fingerling potatoes, German Extra Hardy garlic, green, and limited ripe tomatoes, escarole, fennel, assorted sweet peppers, mixed Italian and Asian eggplant, hot peppers, leeks, celeriac, collards, butternut and Kogi Nut squash, fresh young ginger, limited apples from our certified organic, no-spray orchard
Coming Soon:
parsnips
Pick Your Own:
Flowers: * SALE! BOUQUETS are STILL HALF PRICE THIS WEEK! please get a flower ring from the barn for bouquet size.
Don’t miss the Dahlias, which come into their own this time of year! There are still some nice flowers out there, despite the deluges of rain.
Perennial Herbs: * please get an herb ring from the barn for bunch size.
Chives, Oregano, Thyme, and Sage for all of those fall recipes
PYO Hours: 1:30 - 7PM. (PYO begins 30 minutes before and goes 30 minutes beyond barn hours.)
Recipes
Suggested by Rebecca Batchie
For more recipes, check out the Fort Hill Farm Recipe Database
Turmeric and Ginger Spiced Pumpkin Soup
By Samira from AlphaFoodie, shared by Kate Suskovich
I don’t love all things pumpkin, but I can assure you, this recipe is stunningly delicious!
Ingredients
3 pounds pumpkin skinned, deseeded and roughly chopped
5 large carrots peeled and roughly chopped
3 orange peppers deseeded and roughly chopped
4 cups vegetable stock
8 cups water
1 large brown onion chopped
.8 inch piece of turmeric finely chopped
3.2 inches piece of ginger finely chopped
6 garlic cloves crushed/chopped
2 tbsp olive oil
1½ tsp chili flakes optional
Optional toppings:
Edible flowers
Toasted mushrooms
Instructions
Since this is a one-pot soup recipe, you're going to need a large, deep pot first and foremost.
Begin by heating up the olive oil in the large pot, over medium heat.
Add the onion, turmeric, ginger, garlic and chili flakes and sauté for a couple of minutes.
Then add the chopped carrot, peppers, and pumpkin. Sautee together with the onion mixture for 10-12 mins or until the vegetable pieces become coated in onion mix and begin to caramelize and soften at the edges. This will help to infuse extra flavor into the veggies and soup.
Next, add the vegetable stock and boiling water. The vegetable pieces should be totally submerged. Add more liquid if they're not.
Cook on medium/low heat for 30-40 minutes. The liquid will reduce during this time and the vegetables will become tender. To reduce this time you can chop the veggies into smaller pieces.
When the vegetables are soft, blend the soup with an immersion blender until smooth. You can also pour it into a food processor/ blender, though it's best to allow it to cool down slightly and you'll probably have to do it in batches.
Top with toppings of your choice and serve!
Notes
For a less hands-on approach to making this soup, you could roast the pumpkin and carrot in the oven till tender and lightly caramelized. In the last 10-15 minutes of cooking time, prepare the rest of the ingredients according to the recipe, and then blend all the ingredients together.
If you prefer your soup thick then reduce the amount of stock, for a thinner soup, then add more.
To Serve In Roasted Mini Pumpkins
If I'm wanting to impress, then serving this soup inside a carved and roasted mini pumpkin is the way to go!
Begin by scrubbing the pumpkins clean and then slicing the top off the pumpkin. Scoop out the fleshy, seedy center and then brush with olive oil. Optionally, prod a few times with a fork or knife.
Bake the pumpkins in the oven for around 40 minutes at 180ºC/350ºF (or until softened and golden).
Then, just fill them up with soup as if they were mini bowls.
Grilled Brussels Sprouts
By Alton Brown
Ingredients
1 pound Brussels sprouts, as uniform in size as possible
2 tablespoons olive oil
1 tablespoon minced garlic
1 teaspoon dry mustard
1 teaspoon smoked paprika
1 teaspoon kosher salt
1/4 teaspoon freshly ground black pepper
Directions
Heat a grill to medium.
Cut off the stem end of the Brussels sprouts and remove any yellowing outer leaves. Place the Brussels sprouts into a large, microwave safe mixing bowl and heat in the microwave on high for 3 minutes. (Or alternatively par-steam for a few minutes.)
Add the olive oil, garlic, mustard, paprika and salt and toss to combine. Allow the sprouts to cool until you can handle them.
Skewer 4 to 5 Brussels sprouts onto each metal skewer with the stem ends facing in the same direction, leaving at least 1/2-inch in between each sprout. (If you don’t have skewers, a steamer basket works well here.)
Place the skewers onto the grill with stem end closest to the flame. Cover and cook for 5 minutes. Turn the skewers over and continue to cook for another 5 minutes.
Serve as is or for additional flavor, remove the sprouts from the skewers, return them to the original mixing bowl and toss with any of the remaining oil and garlic mixture before serving.


